Trees
Trees - Fine Art Photography Prints
Trees are a beautiful and diverse part of nature. They inspire awe, peace, mystery and creativity. In this category you will find a selection of fine art prints of photographs that capture the essence and beauty of trees in a variety of ways.
Some of the photographs are more realistic, while others are more abstract or minimalist, focusing on the shape and contrast of the trees, branches and leaves. You'll also find black and white images that highlight the light and shadows of trees, as well as colour images that bring out the vibrant colours of the seasons. Whether you prefer forest landscapes or individual trees, you're sure to find something to suit your taste and style.
Trees
Showing all 52 results
Types of tree photography
Tree photography is not a single genre, but rather a broad and diverse category that encompasses many different styles and techniques. Each type of tree photography has its own characteristics and appeal and can create a different mood and message in your photo. Here are some of the most common and popular types of tree photography you can find in my gallery:
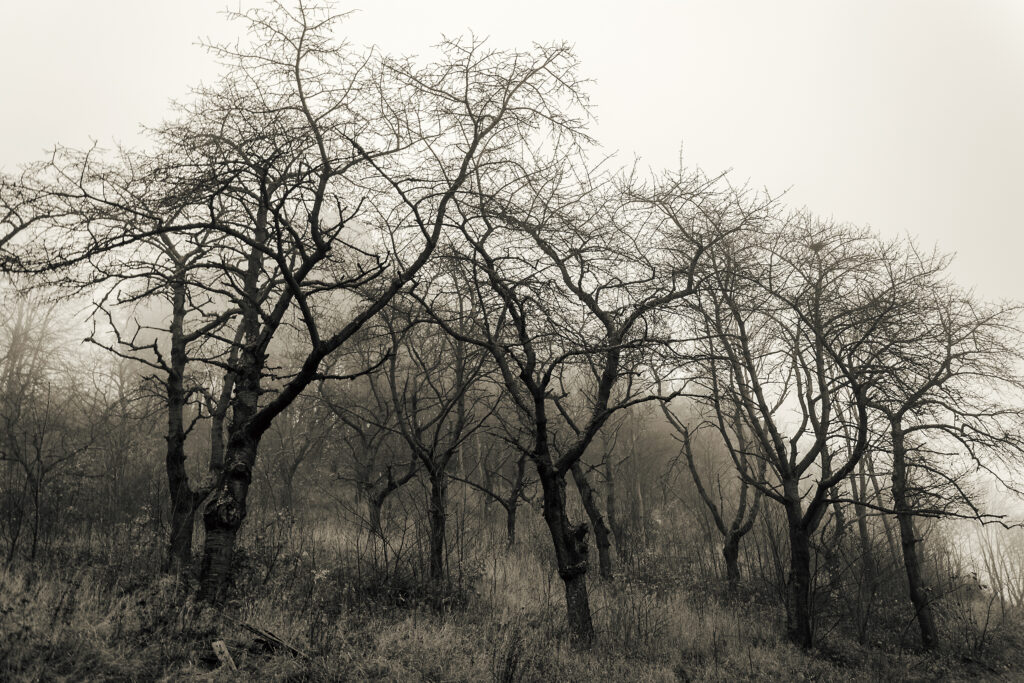
- Fine Art: This is a type of tree photography that focuses on the aesthetic and artistic value of the photo, rather than the realistic representation of the subject. Fine art tree photography may use various elements of composition such as colour, shape, texture, pattern, symmetry, etc. to create a visually pleasing and expressive photo. Fine art tree photography can also use post-processing tools and filters to change or enhance the appearance of the photo, such as adding a vintage or dreamy effect. It can convey a personal or emotional message, or simply showcase the beauty and elegance of trees.
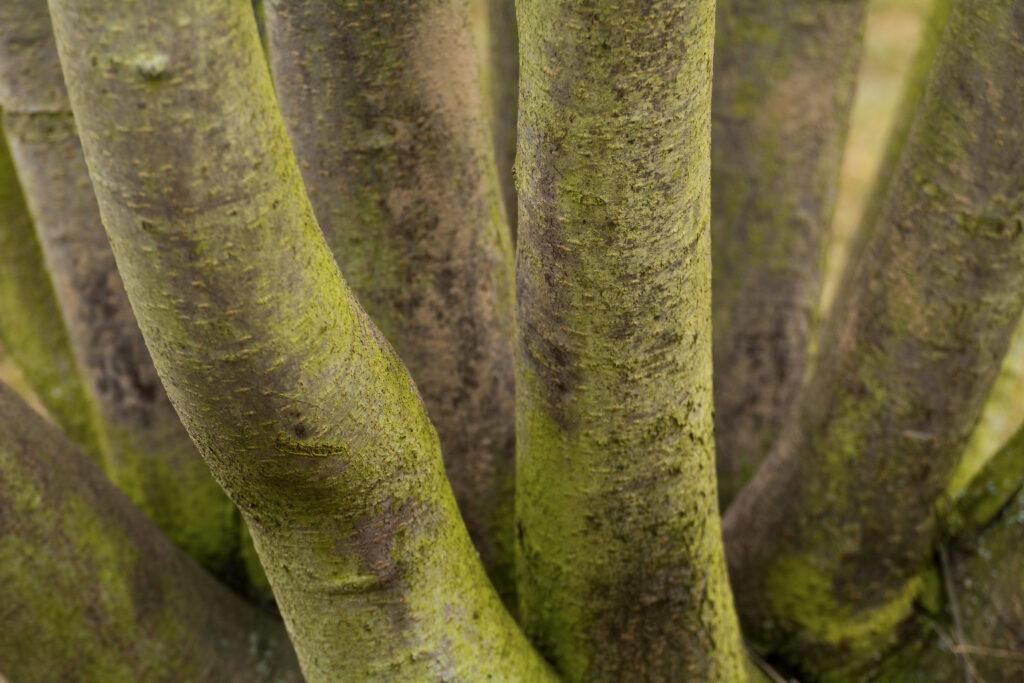
- Abstract: This is a type of tree photography that focuses on the shape and form of the trees rather than the details and context. Abstract tree photography can use various techniques such as intentional camera movement, cropping, tilting or rotating. Abstract tree photography can also use contrast, colour or light to create a photo that shows the trees in an unusual or distorted way. It can challenge the viewer’s perception and imagination, or simply show the interesting and unique features of trees.
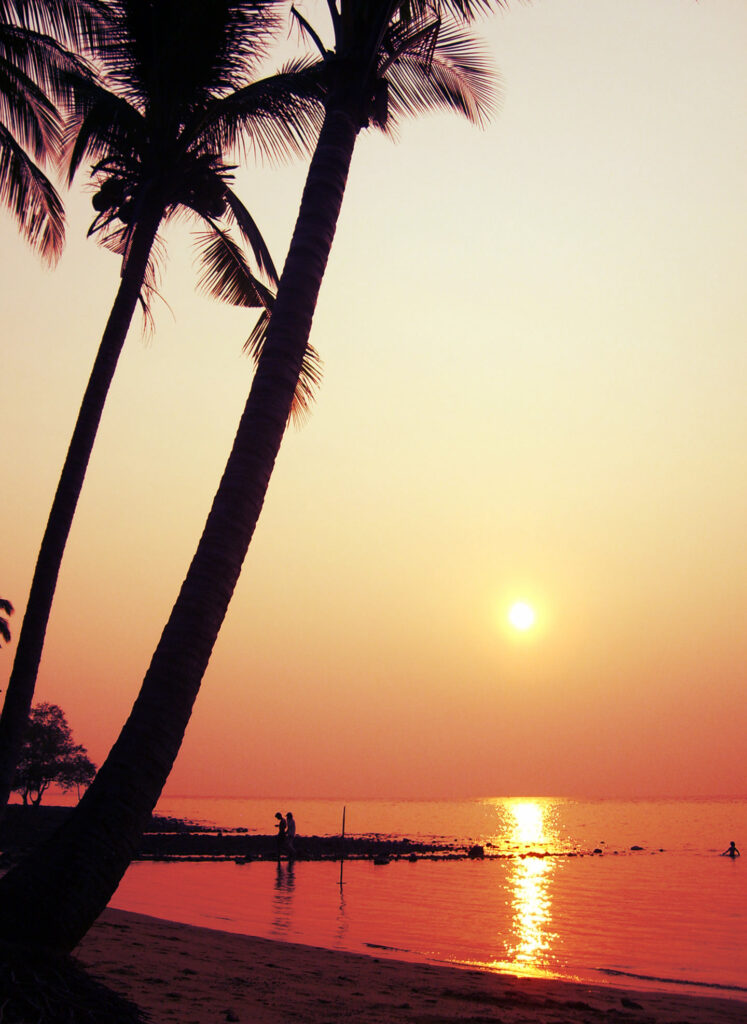
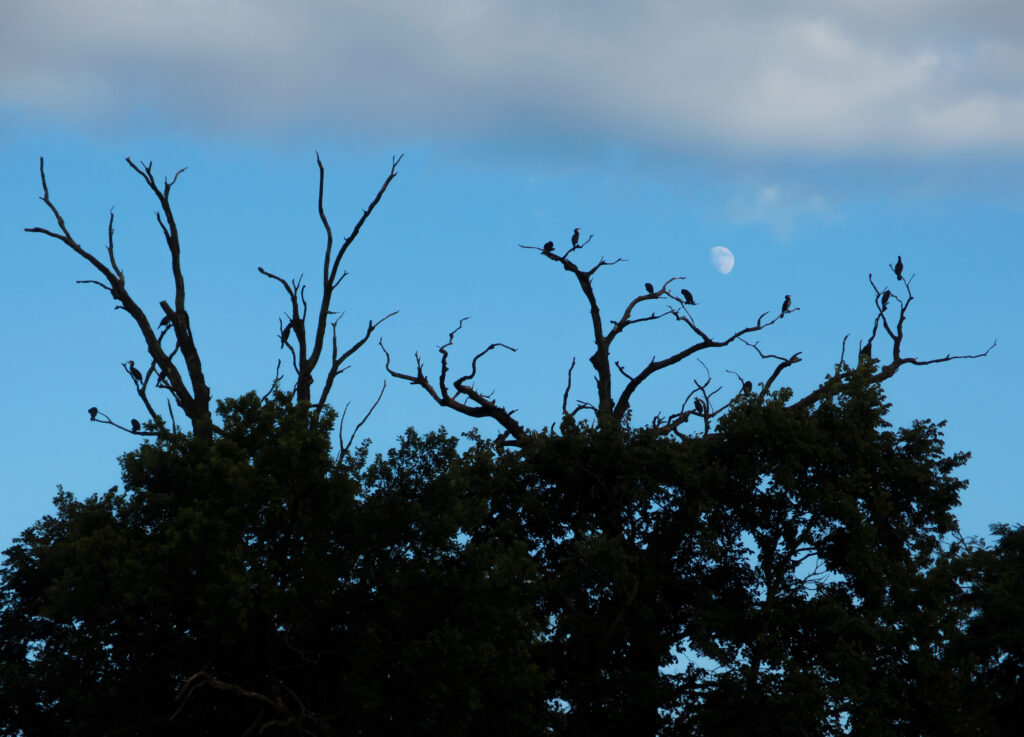
- Silhouette: This is a type of tree photography that focuses on the outline and shape of the trees against a bright background, such as the sky or sun. Silhouette tree photography uses various techniques such as backlighting, underexposure or using a low angle to create a photo that shows only the dark and solid profile of the trees. It can also use different times of day, like sunrise or sunset, to create a photo that shows different colours and tones in the background.
Materials for printing tree photos
The real photo should be printed. This is the only way to make the photo stand out for what it is and look like a real work of art, unlike a backlit display. However, not all materials are suitable for printing tree photos as they can affect the colours, contrast, sharpness and texture of the photos. Below are some of the materials that can be used to print tree photos and how they can enhance the photos:
- Wood: This is a natural and organic material that can add a rustic and cosy feel to the photos. Wood can also complement the theme and subject of the photos as it matches the texture and colour of trees. Wood prints are made by transferring the photos onto a maple board and can retain the detail and colour of the photos, but can also add some grain and warmth. Wood prints are ideal for photos that have a warm and earthy tone, such as autumn or sunset photos.
- Canvas: This is a classic and popular material that can add an artistic and elegant feel to photos of trees. Canvas can also add depth and dimension to the photos as it has a slightly textured and stretched surface. Canvas prints are made by printing photos onto canvas, which is then wrapped around a wooden frame. Depending on the ink used, canvas prints can also have different finishes, such as glossy or matte. Canvas prints are ideal for photos that have a soft and light tone, such as spring or sunrise photos.
- Metal: This is a modern and sleek material that can create a dramatic and striking mood in photos. Metal can also add brightness and contrast to photos as it has a smooth and reflective surface. Metal prints are made by printing the photos onto an aluminium metal plate and it enhances the details and colours of the photos, but it can also add some shine and vibrancy to them. Metal prints are ideal for photos that have a bright and vibrant tone, such as summer or midday photos.
- Acrylic: This is a sophisticated and stylish material that can add a glossy and transparent feel, depth and perspective to the photos as it has a thick and clear surface. Acrylic prints are made by printing the photos onto paper, which is then sandwiched between two sheets of acrylic. Acrylic prints can preserve the detail and colour of the photos, but they can also add a little sparkle and shine. Acrylic prints are ideal for photos that have a clear and crisp tone, such as winter or night photos.
- Paper: This is a simple and versatile material that can add a natural and authentic feel to the photos. Paper can also be used with any type of photo as it has a smooth and neutral surface. Paper prints are made by printing photos onto paper, which can be glossy, matte or textured, depending on the quality and style of the paper. Paper prints can also come in different sizes and shapes, depending on your preferences and the purpose of the print. Paper prints can reproduce the detail and colour of photos, but they can also fade or be damaged over time if not properly protected or framed. Paper prints are ideal for photos of any tone or style, as they can adapt to any photo.
How to choose the best size and format for your tree photo prints
One of the most important decisions you will make when ordering your tree photo prints is the size and format of the prints. The size and format of your prints can affect the quality and appearance of the photos, as well as the space and style of your wall. Here are some factors to consider when choosing the best size and format:
- Your wall space and style: The first thing you need to do is measure the space and style of your wall where you want to display the prints. You need to know the width, height and shape of your wall, as well as the colour, texture and design of your interior. You also need to consider the furniture, lighting and other elements that are near or around your wall. You want to choose a size and format that works well with your wall, without being too small or too large, too crowded or too sparse, too bright or too dark, etc.
- The type of photo: The next thing you need to do is check the type of photo you want to buy. You need to consider the mood and theme of the photo, whether it is realistic or abstract, warm or cool, light or dark, etc. You should also choose a size and format that enhances the photo’s mood and theme, whether serene or dramatic, exotic or familiar, simple or complex, etc.
- Your personal preference: The last thing you need to do is decide what you want to express with your tree art prints. You need to know what kind of effect and impression you want to create with your wall art. You should also choose a size and format that works well with the options and accessories you want to use with your prints, whether they are frames, mats, hangers, hooks, etc.
- Choose the best position and orientation for your prints: The first thing you need to do is choose the best location and orientation for your prints, depending on the size and shape of your prints, the type and quality of your wall, and the lighting and visibility in your room. You want to choose a location and orientation that works well with your prints, without being too high or too low, too left or too right, too horizontal or too vertical, etc. You also want to choose a location and orientation that matches the type and quality of your wall, whether it is smooth or rough, plain or patterned, light or dark, etc. You also want to choose a location and orientation that takes advantage of the lighting and visibility in your room, whether natural or artificial, bright or dim, direct or indirect, etc.
- Choose the best layout and arrangement for your prints: The next thing you need to do is choose the best layout and arrangement for your new photo(s) of trees, depending on the number and size of your prints, the shape and layout of your wall, and the mood and theme of your photos. You want to choose a layout and arrangement that creates a balanced and harmonious look on your wall, without being too symmetrical or asymmetrical, too aligned or misaligned, too spaced or too crowded, etc. You also want to choose a layout and arrangement that suits the shape and layout of your wall, whether it is square or rectangular, wide or narrow, long or short, etc. You also want to choose a layout and arrangement that reflects the mood and theme of your photos, whether it is serene or dramatic, exotic or familiar, simple or complex, etc.
To help you choose the best size and format for your tree photo prints, here are some of the standard sizes and formats available on my website, as well as some examples of how they fit on different types of walls and photos:
- 8×10 inches: This is a small and rectangular size that can be used for portrait or landscape photos. It is ideal for photos that have a lot of detail and contrast, such as close-ups or macro shots. It is also ideal for walls that have limited space or a simple style, such as a desk or shelf.
- 11×14 inches: This is a medium and rectangular size that can be used for portrait or landscape photos. It is ideal for photos that have a moderate amount of detail and contrast, such as medium or wide shots. It is also ideal for walls that are moderately spacious or classic in style, such as a bedroom or living room.
- 16×20 inches: This is a large rectangular size that can be used for portrait or landscape photos. It is ideal for photos with little detail and contrast, such as long exposures or silhouettes. It is also ideal for walls that are large or modern in style, such as a hallway or dining room.
- 20×30 inches: This is an extra large and rectangular size that can be used for portrait or landscape photos. It is ideal for photos that have very little detail and contrast, such as abstract or minimalist photos. It is also ideal for walls that have a lot of space or a sophisticated style, such as an office or studio.
- Square: This is a square size that can be used for any type of photo. It is ideal for photos that have a balanced and symmetrical composition, such as fine art or geometric photos. It is also ideal for walls of any size or style, as it can fit on any wall and create a dynamic and interesting arrangement.
These are some of the best sizes and formats for your tree photo prints, but you can customise your prints to suit your preferences and use. You can also use different combinations and variations of sizes and formats to create a collage or gallery wall of your prints. The choice is up to you!
What are the print options for tree photos?
To help you choose the best options and accessories for your tree photo prints, here are some of the options and accessories available on this website, as well as some examples of how they can enhance your prints:
- Frames: These are structures that surround and support your prints and can protect them from dust, moisture and damage. They can also enhance the look and style of your prints. Frames can be made of different materials, such as wood or metal, and come in different styles, such as classic, modern, rustic or ornate. Frames can also come in different colours (black, white, brown, gold or silver) and sizes.
- Mats: These are pieces of cardboard or paper that are placed between the prints and the frames and can create some space and separation. Mats can come in a variety of colours, such as white, black, grey and many more, and in a variety of sizes.
- Hangers: These are devices that attach the prints to your wall and can hold them securely. Hangers come in different styles, such as hooks, nails, clips or wires.
How to care for your tree photo prints
Once you have displayed and arranged your tree photo prints on your wall, you may want to care for and maintain them to preserve their quality and appearance. Caring for and maintaining your prints can also protect them from dust, moisture and damage, and extend their life and durability.
The first thing you need to do is clean your prints regularly, depending on the material and finish of your prints. You should clean your prints gently and carefully, without scratching or rubbing them too hard, or using any harsh or abrasive products or tools. You also want to clean your prints thoroughly and evenly, without leaving any streaks or spots on them.
Here are some products and tools you can use to clean your prints, depending on the material and finish of your prints:
- Wood: You can use a soft cloth or microfibre cloth to remove dust and dirt from your wood prints. You can also use a mild wood cleaner or a damp cloth to remove any stains or marks from the prints. You can also use a wood polish or wax to restore the shine and lustre of your wood prints.
- Canvas: You can use a soft brush or vacuum cleaner to remove dust and fluff from your canvas prints. You can also use a mild soap or damp cloth to remove any stains or marks. To protect the colour and texture of your canvas prints, you can also use a canvas protector spray or varnish.
- Metal: You can use a soft cloth or microfibre cloth to remove dust or fingerprints from your metal prints. To remove stains or smudges, you can also use a mild metal cleaner or a damp cloth. You can also use metal polish or wax to improve the brightness and contrast of your metal prints.
- Acrylic: To remove dust or fingerprints from your acrylic prints, use a soft cloth or microfibre cloth. You can also use a mild acrylic cleaner or a damp cloth to remove stains or smudges. To prevent dust or lint from sticking, you can also use an anti-static spray or cloth.
- Paper: Use a soft brush or vacuum cleaner to remove dust and lint from paper prints. You can also use a mild paper cleaner or damp cloth to remove any stains or marks. To protect the colour and quality of your paper prints, you can also use a paper protection spray or laminate.
Avoid direct sunlight and extreme temperatures
Depending on the material and finish of your prints, the location of your wall and the exposure of your prints, it is important to avoid direct sunlight and extreme temperatures as these can cause your prints to fade, warp, crack or peel over time.
You should display and arrange your prints in a place where the temperature and humidity are moderate and constant, and where there is a source of diffused and indirect light. You can also use some options and accessories to protect your prints from direct sunlight and extreme temperatures, such as UV-resistant glass, frames, mats, etc.
Another important thing to remember is to treat prints with care. You should handle prints gently and carefully, not bending, folding or touching them with your fingers or fingernails.
Do you want to try and take your own photos of trees?
If you didn’t choose one of my photos, or just want to try your hand at taking your own great photos of trees, here are some tips that might help.
The best trees to photograph
Trees come in many shapes, sizes, colours and species, each with its own charm and character. Some trees are more photogenic and popular than others and can create different effects and impressions in your photos. Here are some of the most attractive types of trees to photograph:
- Joshua trees: They are unique and iconic trees native to the Mojave Desert in the southwestern United States. They have a twisted and prickly appearance, with long and pointed leaves and branches. They can grow up to 40 feet tall and live for hundreds of years. Joshua trees can create a stunning and surreal contrast to the desert landscape, especially at sunrise or sunset. They can also create a sense of isolation and mystery, often standing alone in vast and barren terrain.
- Palm trees: These are tropical and subtropical trees found in many parts of the world, especially near the coast. They have a slender and tall trunk with a crown of large and fan-shaped leaves at the top. They can grow up to 200 feet tall and live for up to 100 years. Palm trees can add a relaxing and exotic feel to your photos, as they are often associated with beaches, islands and holidays. They can also create a sense of movement and rhythm as they sway in the wind or bend in a storm.
- Redwood trees: These are huge and majestic trees native to the Pacific coast of North America. They have a thick, reddish-brown trunk with a canopy of dark green needles at the top. They can grow up to 380 feet tall and live for more than 2000 years. Redwoods can create an awe-inspiring and humbling mood in your photos, as they are among the tallest and oldest living things on earth. They can also create a sense of depth and perspective as they tower over everything else in the forest.
- Birch trees: These are graceful and elegant trees found in many parts of the world, especially in temperate regions. They have a thin and smooth trunk with white or silver bark that peels off in strips. They have small, oval leaves that turn yellow or orange in the autumn. They can grow up to 80 feet tall and live for up to 200 years. Birch trees can create a romantic mood in your photos as they have a soft and light appearance that contrasts with their surroundings. They can also create a sense of texture and detail by showing the patterns and colours of their bark and leaves.
How to take better photos of trees and forests
Trees and forests are wonderful subjects for photography, but they can also be challenging to capture well. There are many factors that can affect the quality and outcome of your photos, such as the environment, the season, lighting, composition, focus and post-processing.
- Choose the right time and place: The best time to photograph trees and forests is usually early morning or late afternoon when the sun is low and the light is soft and warm. This can create a beautiful glow and contrast on the trees, as well as avoiding harsh shadows and overexposure. The best place to photograph trees and woodland depends on the mood and effect you want to create. For example, if you want a serene and peaceful photo, you can look for a quiet and peaceful spot with little or no human presence. If you want a dramatic and mysterious photo, you can look for a dense and dark forest with fog or mist.
- Use a tripod: A tripod is essential for taking sharp and steady photos of trees, especially in low light or when using a slow shutter speed. A tripod can also help you compose your photo more carefully and creatively, and experiment with different angles and perspectives. You can also use a remote shutter release or self-timer to avoid camera shake when you press the shutter button.
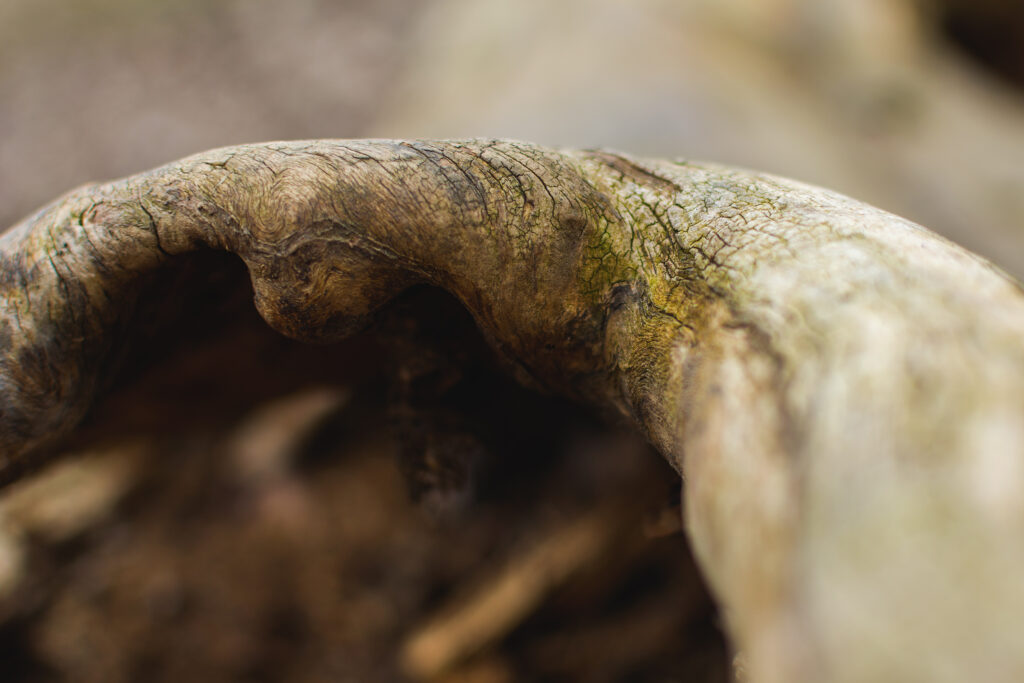
- Choose the right lens: The lens you use can make a big difference to how your photos of trees and forests look. Depending on the type of photo you want to take, you can use different types of lenses, such as wide angle, telephoto, macro or fisheye. A wide-angle lens can help you capture the vastness and depth of a forest and include more elements in your frame. A telephoto lens can help you isolate a single tree or group of trees, compress the distance and create a sense of intimacy. A macro lens can help you capture the details and textures of a tree’s bark, leaves and flowers. A fisheye lens can help you create a distorted and surreal effect in your photo.
- Pay attention to composition: Composition is one of the most important aspects of photography because it determines how your photo looks and feels. When photographing trees, you should consider the following elements of composition:
- The rule of thirds: This is a simple but effective technique that involves dividing your frame into nine equal parts with two horizontal and two vertical lines, and placing your main subject or point of interest along one of these lines or at their intersections. This can create a balanced and harmonious photo that draws the viewer’s attention.
- The leading lines: These are lines that guide the viewer’s eye towards your main subject or point of interest. They can be natural or artificial, such as branches, trunks, paths, fences, etc. They can create a sense of direction and movement in your photo.
- Framing: This is a technique that involves using other elements in your scene to frame your main subject or point of interest. These can be natural or artificial, such as leaves, branches, windows, arches, etc. They can create a sense of depth and focus in your photo.
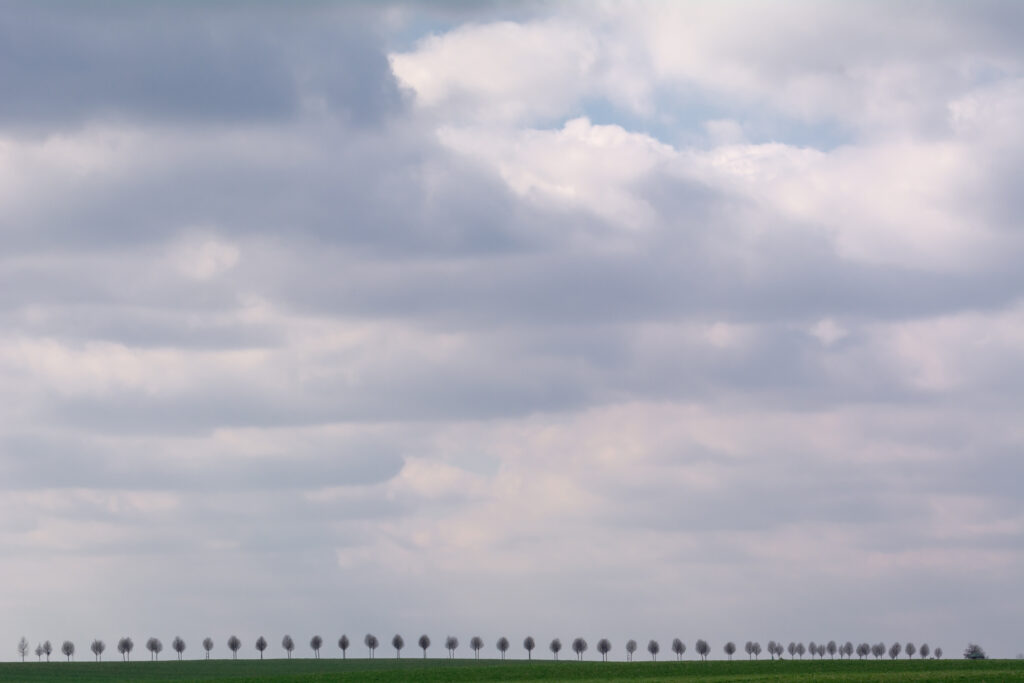
- The negative space: This is the empty or unoccupied space around your main subject or point of interest. It can be used to create a sense of contrast and simplicity in your photo, as well as to emphasise your main subject or point of interest.
- Experiment with different settings: The settings you use on your camera can also affect how your photos of trees look. Depending on the type of photo you want to take, you can experiment with different settings such as aperture, shutter speed, ISO, white balance, exposure compensation, etc. For example
- Aperture: This is the opening in your lens that controls how much light enters your camera. It is measured in f-stops, such as f/2.8, f/4, f/8, etc. The smaller the f-number, the larger the aperture; the larger the f-number, the smaller the aperture. A large aperture (small f-number) can create a shallow depth of field (the area in focus), which can blur the background or foreground and make your main subject stand out. A small aperture can create a large depth of field (the area in focus), which can keep everything in focus and show more details.
- Shutter speed: This is the amount of time your camera’s shutter stays open to expose your sensor to light. It is measured in seconds or fractions of a second (s), such as 1/60th, 1/125th, 1/250th, etc. The faster the shutter speed (smaller fraction), the less light enters your camera; the slower the shutter speed (larger fraction), the more light enters your camera. A fast shutter speed can freeze the movement of your subject or the wind, resulting in a sharp and clear photo. A slow shutter speed can blur the movement of your subject or the wind, resulting in a smooth and dynamic photo.
- ISO: This is the sensitivity of your camera’s sensor to light. It is measured in numbers such as 100, 200, 400, 800, etc. The lower the number, the less sensitive your sensor is to light; the higher the number, the more sensitive your sensor is to light. A low ISO can produce a clean, noise-free photo, but it requires more light. A high ISO can produce a bright and noisy photo but requires less light.
- White balance: This is the colour temperature of your photo, which affects how warm or cool your photo looks. It is measured in Kelvin (K), such as 3000K, 4000K, 5000K, and so on. The lower the number, the warmer your photo will look; the higher the number, the cooler your photo will look. You can adjust the white balance to match the lighting conditions of your scene, or to create a different mood or effect in your photo.
- Exposure compensation: This is a way to adjust the brightness or darkness of your photo by adding or subtracting f-stops. It is measured in EV (exposure value), such as -1 EV, 0 EV, +1 EV, etc. The lower the number, the darker your photo will be; the higher the number, the brighter your photo will be. You can use exposure compensation to correct an underexposed or overexposed photo or to create a different mood or effect in your photo.
- Edit and enhance your photos: The final step in taking better photos of trees and forests is to edit and enhance them using software or an app on your computer or phone. You can use various tools and filters to adjust and improve the colour, contrast, sharpness, clarity, saturation, hue, tone curve, etc. of your photos. You can also crop, rotate, straighten, resize or remove unwanted elements from your photos. Editing and enhancing your photos can make them look more professional and attractive, and express your artistic vision and style.


